Ultimate Guide to Using Wood Stain: Transform Your Furniture with a Perfect Finish
When it comes to custom-made furniture, the wood itself is just the beginning of the story. The right wood stain can elevate your piece, adding depth, character, and a finish that truly brings out the beauty of the grain. At YEG Woodcraft, we believe that understanding how to use wood stain effectively can make all the difference in your home projects. Whether you're a seasoned DIYer or just getting started, this guide is here to help you make the most of every piece of wood.
1. Why Wood Stain Matters
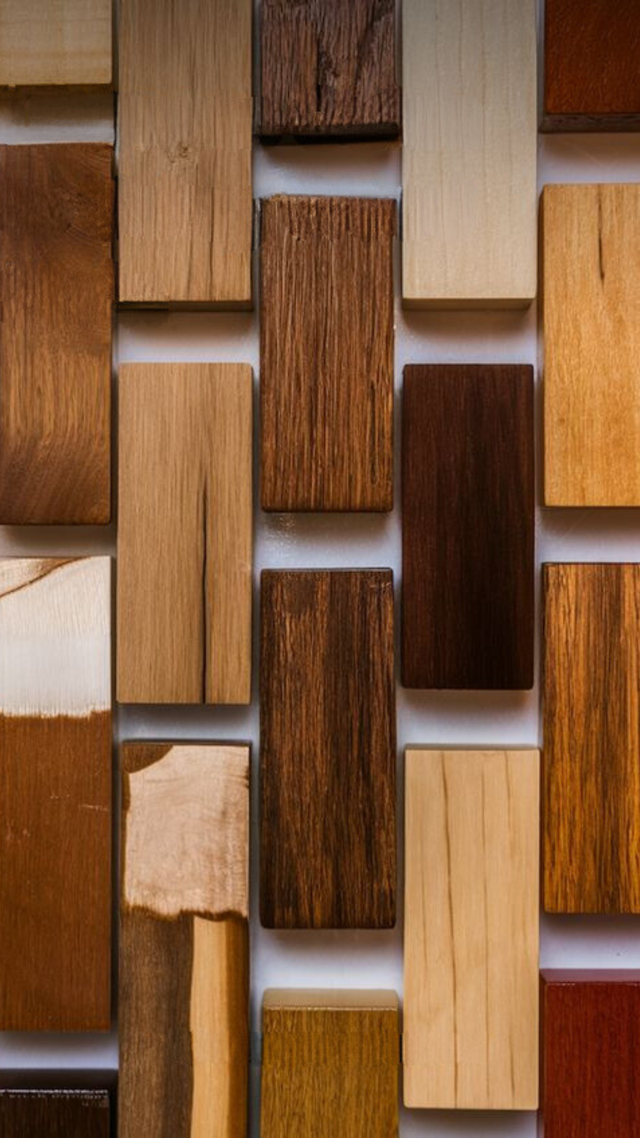
Wood stain does more than just change the color of your furniture—it enhances the natural beauty of the wood. By highlighting the grain, stain adds depth and dimension, turning a simple piece of wood into a true work of art. But it’s not just about aesthetics. Staining also offers a layer of protection, helping to preserve your furniture for years to come.
Think of it like makeup for wood—not only does it make your furniture look stunning, but it also helps protect it from the elements.
2. Choosing the Right Stain
There’s a wide variety of wood stains available, and choosing the right one can feel overwhelming. Here’s a quick breakdown to simplify your decision:
-
Oil-Based Stains: These are classic for a reason. Oil-based stains penetrate deeply into the wood, providing a rich, long-lasting color. They’re ideal for larger pieces like dining tables or cabinetry.
-
Water-Based Stains: If you’re looking for something with low odor and easy cleanup, water-based stains are your go-to. They dry quickly and offer a more eco-friendly option, perfect for smaller projects or when working indoors.
-
Gel Stains: Think of gel stains as the best of both worlds. They’re thick and don’t penetrate as deeply, which means they’re great for achieving an even color on less porous woods like pine or cherry.
Pro Tip: When in doubt, always test your stain on a scrap piece of wood or an inconspicuous area first to see how it will look once dry.
3. Preparing Your Wood
Before you dive into staining, preparation is key. A well-prepared surface ensures the stain absorbs evenly and lasts longer. Here’s how to do it:
-
Sand Smooth: Start with a medium-grit sandpaper (around 120-grit) and finish with a fine-grit (220-grit). Sanding opens up the pores of the wood, allowing the stain to penetrate more deeply.
-
Clean Up: After sanding, make sure to remove all dust with a tack cloth or vacuum. Dust particles can interfere with the staining process, leading to a blotchy finish.
-
Condition the Wood: For softer woods like pine, consider using a wood conditioner. This step helps the stain apply more evenly by preventing the wood from soaking up too much stain in some areas and not enough in others.
Think of this step like priming a wall before you paint—essential for a smooth, even finish.
4. Applying the Stain
Now comes the fun part! Here’s how to get that perfect, professional-looking finish:
-
Brush or Cloth?: You can apply stain with a brush or a clean, lint-free cloth. Brushes work well for larger surfaces, while cloths give you more control on smaller, intricate areas.
-
Work in Sections: Apply the stain in small sections, working with the grain of the wood. This helps avoid lap marks and ensures an even application.
-
Wipe Off Excess: After letting the stain sit for a few minutes (follow the manufacturer’s instructions), wipe off any excess with a clean cloth. The longer you leave the stain on, the deeper the color will be.
Imagine you’re baking a cake—timing is everything! Leave the stain on too long, and you might end up with a color that’s darker than you wanted.
5. Finishing Touches
Once your stain is dry, it’s time to seal the deal. A protective finish not only enhances the color but also shields your furniture from wear and tear.
-
Topcoat Options: Polyurethane is a popular choice for durability, but if you prefer a more natural look, consider using a wax or oil finish.
-
Apply Multiple Coats: For the best protection, apply at least two coats of your chosen finish, sanding lightly between coats to smooth out any imperfections.
This is like adding a topcoat to your manicure—it locks in the color and keeps it looking fresh.
6. Troubleshooting Common Issues
Sometimes, despite our best efforts, things don’t go as planned. Here’s how to handle some common staining challenges:
-
Blotchy Finish: This often happens when the wood wasn’t properly prepped. If you notice blotches, lightly sand the surface and apply another coat of stain.
-
Too Dark or Light: If your stain turned out darker than expected, you can lighten it by sanding back some of the color and reapplying a lighter stain. If it’s too light, simply apply another coat.
-
Sticky Surface: This can occur if you didn’t wipe off excess stain. To fix it, wipe down the surface with a rag soaked in mineral spirits to remove the stickiness, then reapply the finish.
Remember, there’s no such thing as a mistake—only opportunities to create something unique!
7. Why Choose YEG Woodcraft?
At YEG Woodcraft, we’re passionate about helping you create beautiful, custom pieces that fit your home perfectly. Whether you’re tackling a DIY project or looking for expertly crafted furniture, we’re here to guide you every step of the way.
Ready to transform your space? Visit us at YEG Woodcraft to explore our custom-made furniture options and get expert advice tailored to your needs.
Conclusion
Staining wood is an art, and with the right knowledge and tools, you can achieve a finish that’s nothing short of stunning. Whether you’re working on a small project or dreaming of custom furniture, the right stain can make all the difference.

